|
TiledViz
|
 |
|
TiledViz
|
|

This icon opens the tag menu and shows the tags on the tiles, and the legend of already present tags. It allows further operations on the tags.
Click on the tag in the legend, it will get a red border. Then, you have to click on the hitbox of the tile to see the tag appear on its right side.
Click on the sticker to remove a single tag from a tile.

Click on this icon, then on a tag in the legend. All the tiles bearing this tag (as displayed by their stickers) will be moved towards the upper left corner of the grid.
Click on this icon, then a menu for sort order appear. Default order is ascendant. Client to descendant button to change it for next alignTags action.
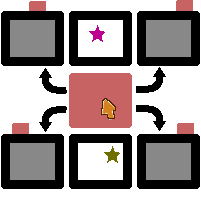
Click on this button then click on a tag to hide all nodes with this tag. Click again on this button an a tag and unhide all nodes with this other tag.
Suppress all nodes with selected tags.
All suppressed nodes are not saved if save button is clicked in global menu.
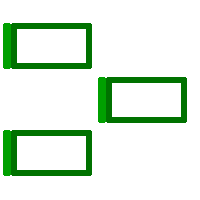
Click the zoom or MS global menu icon, then click on tag menu to enable tag selection with this icon. Click on a tag in the legend. All the tiles bearing this tag (as displayed by their green hitbox) will be selected for the first action.
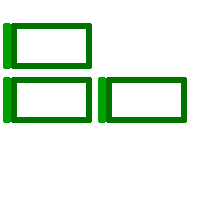
Link actual selection to a tag after click on this button.

Prompts a text field to enter the name of the new tag. Please avoid to insert special characters, they should be treated and replaced, but it may cause further problems.

Click on this icon, then on the tag to remove in the legend. The tag will disappear, as well as the corresponding stickers on the tiles.
Clicking on this icon will remove all the tags and the stickers.
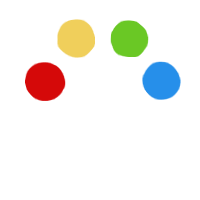
Clicking on this icon will open a palette. You can click on a tag and change its colors by choosing a new on in the palette.
Once the zoom interface with all the tiles appears, you can then move them all at once.

After clicking on this icon, select the tiles you wish to zoom on. To select them, click on the corresponding hitbox on the tile. The hitbox will turn green when the tile has been selected.
Then, click on the button with a check (see below) to expand the view to only the selected nodes.

To go back to the initial view, click on the button in a cross (see below).
This mode enables to control all selected tiles using one of them as a controller. It gives a parallel interaction on iteractive tiles without any adaptation on the TileSet case.
Every move or key hit on the Master Tile will be replicated on other chosen tiles.
Note that keyboard will work only after user has given the hand to the master tile by clicking on the title bar or on the grey part on the sides.
To chose tiles, click on the hitbox, that will become green. then, click on the check button (see below) to activate master-slave mode on this selection.

Adds a Zoom icon at the bottom right corner of each tile: when clicked, the tile is magnified.

This menu is used to manage draws reported by the draw on a tile button in draw menu.
A tabular is given for each reported draw with the number of the origin of the draw in first column and the number of clones on all nodes reporting on second column.
If you click on the first check box, it will erase the draw and all its clones and the second check box will only hide all the draws.
Upon clicking on this button, the notes written for each tile, the tags and the position of the tiles are saved in an auxiliary file which can later be reopened to continue the session or to be used as a starting point for the next.

This icon opens the settings menu, that will allow (in the next versions) to change on the fly some parameters of the application.
Color theme
The Dark color theme corresponds to light text on a dark background, and is more suited to be displayed on Mandelbrot, while the light color theme corresponds to dark text on a light background, and is more suited to desktops. Those themes are applied for the option menu and the help page.

Opens the help page; to close it, click again on the interrogation mark.
Creates at the top of each tile hitbox a green square bearing its initial number on the grid. Clicking on it unloads the content of the tile (the square becomes red, clicking on it again reloads the content), which could allow for better performance. Below: on the left, an “on” tile: green square, content loaded; on the right, an “off” tile: red square, content unloaded.
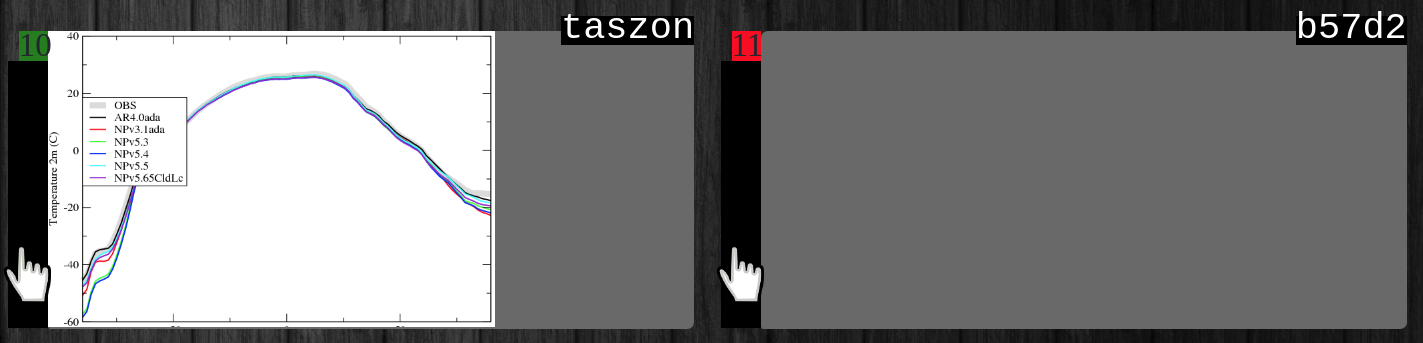
All off-nodes are not saved if save button is clicked in global menu.
Note: May conflict with the QR codes option, since their icons are both located at the bottom right corner of the tiles.
Adds a QR code at the bottom right corner of each tile: when scanned with a tablet, the tablet will show the zoomed tile.
Note: May conflict with the individual zoom option, since their icons are both located at the bottom right corner of the tiles.
The first icon opens the Tile menu on each tile, and gives access to its options.

Clicking on this icon makes the related tile transparent, and will allow (in a next version) to overlay it on other tiles.

Creates a post-it on the tile to write observations on its content. Post-its are saved when the user clicks on the “Save” icon of the Global menu.

Draw menu is explained on section below.
Click on the icon on a tile of the first column to be swapped, this column will then appear with a green border. Then click on the icon on a tile of the second column, to swap the two selected set of tiles. Depending on the configuration of TiledViz, an animation may be shown.
Click on the icon on a tile of the first line to be swapped, this line will then appear with a yellow border. Then click on the icon on the second line, to swap the two selected set of tiles. Depending on the configuration of TiledViz, an animation may be shown.

Opens the draw menu and enables drawing on the tile, to enhance a phenomenon for example. This fonction is more suited to static images.
Opens a pop-up window with a color wheel, allowing the user to select a suitable color.
Enables to change the width of the drawing.
Erases the drawing and let the user start again.
Prompts a window to save the drawing. Only the lines drawn on the tile will be saved, a script is then provided to combine the original image and the drawing (still in progress), maybe another smoother solution will be found later.
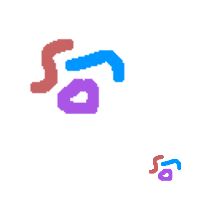
Rescale the draw to be printed on the tile in grid view mode.
Report the draw on all tiles to simplify comparisons in grid view mode.
Clicking on this button cancels the last movement of tiles ; if the last user-made move involved several intermediate states, it will be necessary to click multiple times on the button to cancel this action.
Like with the “Undo last action”, the user will have to repeat clicking on this icon if they wishes to redo a move composed of multiple intermediate states.

Moves the grid one row up (to use when scrolling is not available, ie with WildOS).

Moves the grid one row down (to use when scrolling is not available, ie with WildOS).